
Taping & Floating
This is where flat walls are made. Tape embedded in a full bed of mud, three coats feathered wide, sanded between passes, and proven under a raking light.
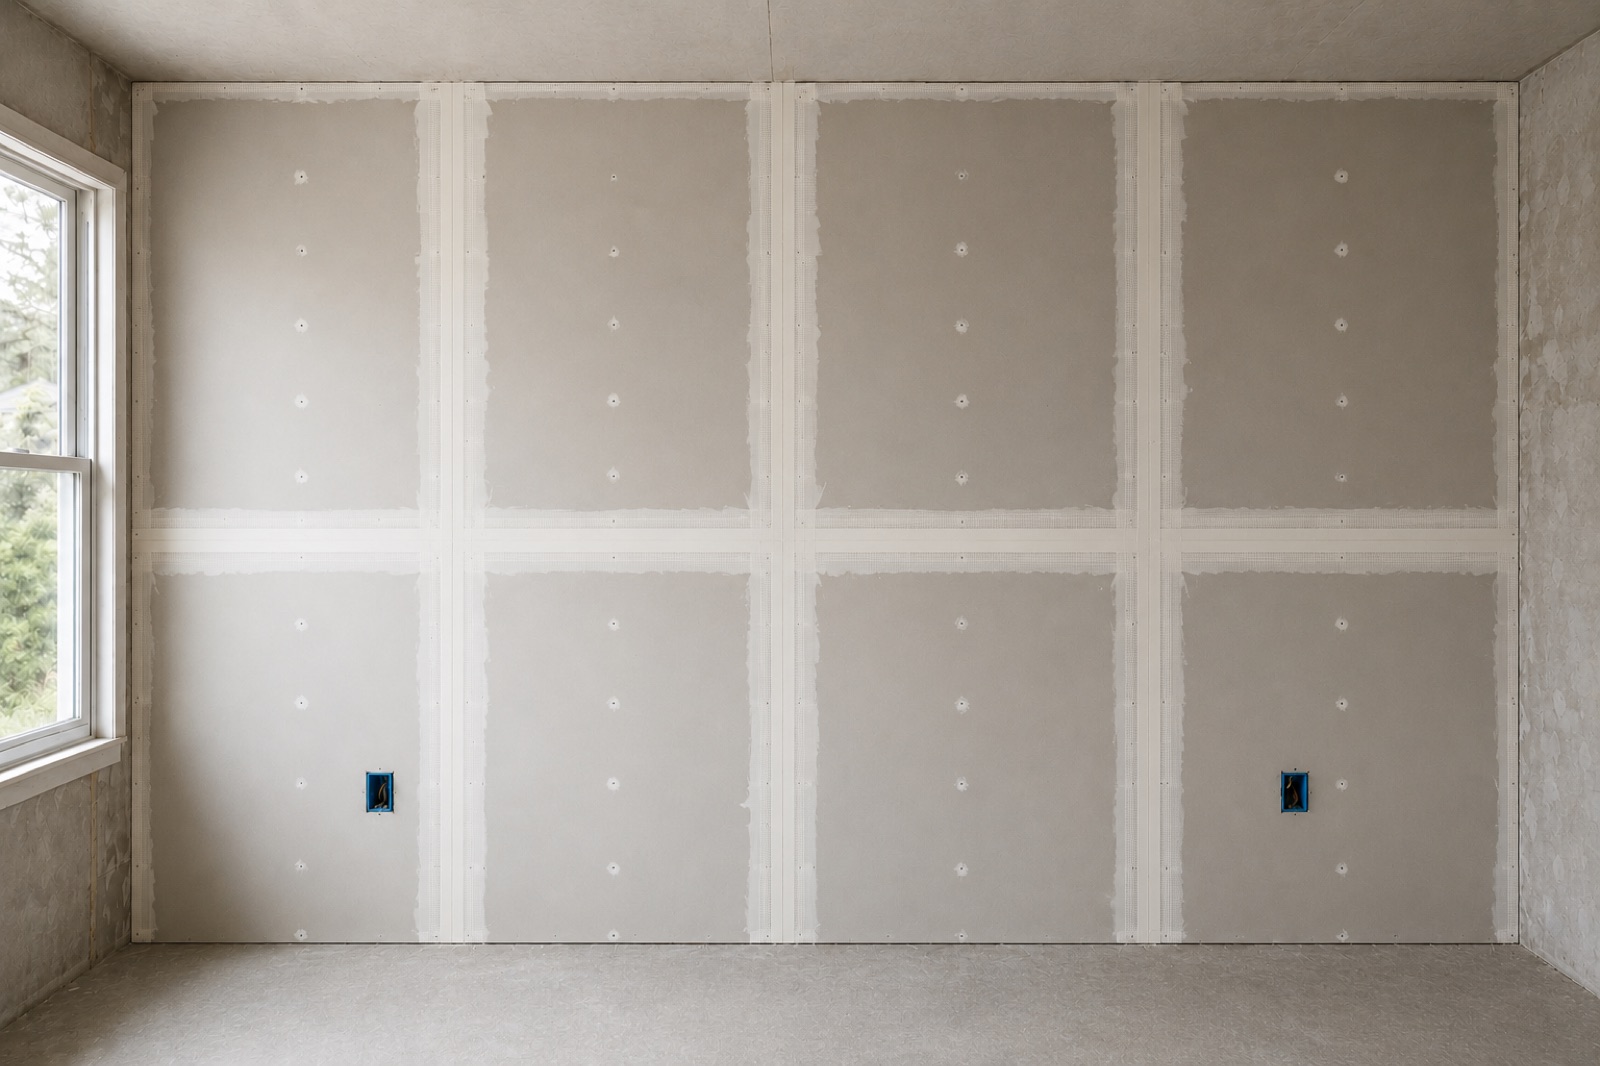
Hanging rock is carpentry. Taping and floating is the craft that decides whether your walls look poured or patched together. Castle Construction tapes new installations, finishes board that other crews hung, and skims tired walls back to flat. The work is a sequence: embed the tape, build the joint, feather it wide, sand between coats, and check everything under hard light. Skip a step and the wall will tell on you every sunny afternoon for the life of the paint.
Embedding Tape So It Never Lets Go
Tape is the structure of a drywall joint. Mud alone across a seam will crack, full stop. Paper tape pressed into a full bed of compound is our default on flats and the only thing we'll run in corners, where it creases to a crisp straight line that mesh can't match. The trap with paper is starving it: too little mud underneath leaves dry spots and air pockets, and a starved joint blisters and peels down the road.
Mesh tape has its place, and we use it where it earns one, mainly with fast-setting compound on repairs where its self-stick convenience and quick embed speed the job. But mesh is fiberglass, it stretches more than paper, and paired with soft all-purpose mud it makes a weaker joint. Knowing which tape and which mud belong on which seam is exactly the judgment you're hiring. It's also why a taper's repair outlasts a handyman's.
The Coat Sequence: Tape, Fill, Skim
A finished joint is three coats minimum, each one wider than the last. The tape coat embeds the tape and gets pressed tight. The fill coat, called the block coat, builds the joint body with a wider knife. The skim coat stretches the mud thin and wide, ten to twelve inches or more on tapered seams, so the transition back to bare board is invisible. Butt joints get floated wider still, because there's no factory taper to hide in, only a gentle man-made hump the eye can't detect.
We choose mud by the coat. Hot mud, the 20-minute and 45-minute setting compounds, cures by chemical reaction, shrinks little, and lets us build deep fills or stack coats in a day. Bucket mud dries slower but sands like butter, which makes it right for finish coats. Between coats we knock down ridges and let things dry honestly. Mud applied over wet mud shrinks, cracks, and pits, and no amount of paint fixes that.
Level 4, Level 5, and Which One Your Walls Need
Finish levels are the trade's grading scale, and knowing where your project sits on it protects your money in both directions. Level 4 is the full three-coat treatment on every joint, corner, and fastener, sanded smooth. Under flat or eggshell paint in ordinary light, it's the right spec, and paying for more buys you nothing you'll see. Most rooms in most homes live happily at Level 4.
Level 5 adds a thin skim coat of compound over the entire wall, so paint lands on one uniform surface instead of alternating between mud and paper. That uniformity is the whole point. Gloss and semi-gloss sheens, deep or dark colors, and walls washed by strong window light all expose the difference between joint and field, and Level 5 erases it. New drywall installation and big open walls with long sight lines are where we most often recommend the upgrade.
- Level 4: three coats on joints, corners, and fasteners, sanded
- Level 5: Level 4 plus a full-surface skim coat
- Choose Level 5 for semi-gloss, dark colors, or strong side light
- Butt joints floated wider than tapered seams at any level
- Every level finishes with a raking light check, then primer
Why Bad Taping Telegraphs Through Paint
Paint is a film a few thousandths of an inch thick. It follows every contour underneath it, and sheen makes the contours easier to see, not harder. A ridged seam, a fat corner, a scratch from coarse sanding grit, an under-floated butt joint: paint locks them in and lights them up. This is why a beautiful color on a badly taped wall looks worse than an old color on a good one, and why we treat the substrate as the job.
Our proof is the raking light. Before primer, we run a bright light nearly parallel to every surface, the same brutal angle the sun takes through your windows. Whatever shadows gets skimmed and re-sanded until nothing does. Then Castle Construction can prime and paint the walls with the same crew, so fresh mud gets the primer it needs and nobody flashes a joint on the way to the finish coat. If you also need repairs blended in first, our patch and repair work feeds straight into this same finishing standard.
Common Questions
Someone else hung my drywall. Will you just tape and finish it?
Yes. We finish board hung by builders, framers, and homeowners regularly. We inspect the hanging first, since proud screws, big gaps, and unbacked joints have to be corrected before tape goes on. If the hanging needs work, we'll tell you what and why before we start floating.
What's the difference between hot mud and regular joint compound?
Hot mud, sold as 20-minute or 45-minute setting compound, hardens by chemical reaction, shrinks very little, and lets us stack coats the same day. Bucket mud air-dries slowly and sands easier, which suits finish coats. We use both on most jobs, matched to what each coat needs.
Is Level 5 worth the extra cost?
It depends on paint and light, not pride. Flat paint in a normally lit bedroom doesn't need it. Semi-gloss, dark colors, or a wall raked by big-window light will show the joint pattern at Level 4, and Level 5's full skim coat is the honest fix. We'll tell you which one your room actually needs.
How many coats does a taping job take?
Three on every joint as the floor: tape coat, fill coat, and a skim coat feathered wide. Butt joints and repairs sometimes take a fourth pass, and a Level 5 finish adds a skim over the whole surface. Each coat needs real drying time, which is why good taping takes days, not hours.
Let's get your drywall handled.
Straight answers, fair numbers, walls built like they matter.
Get a Free Quote